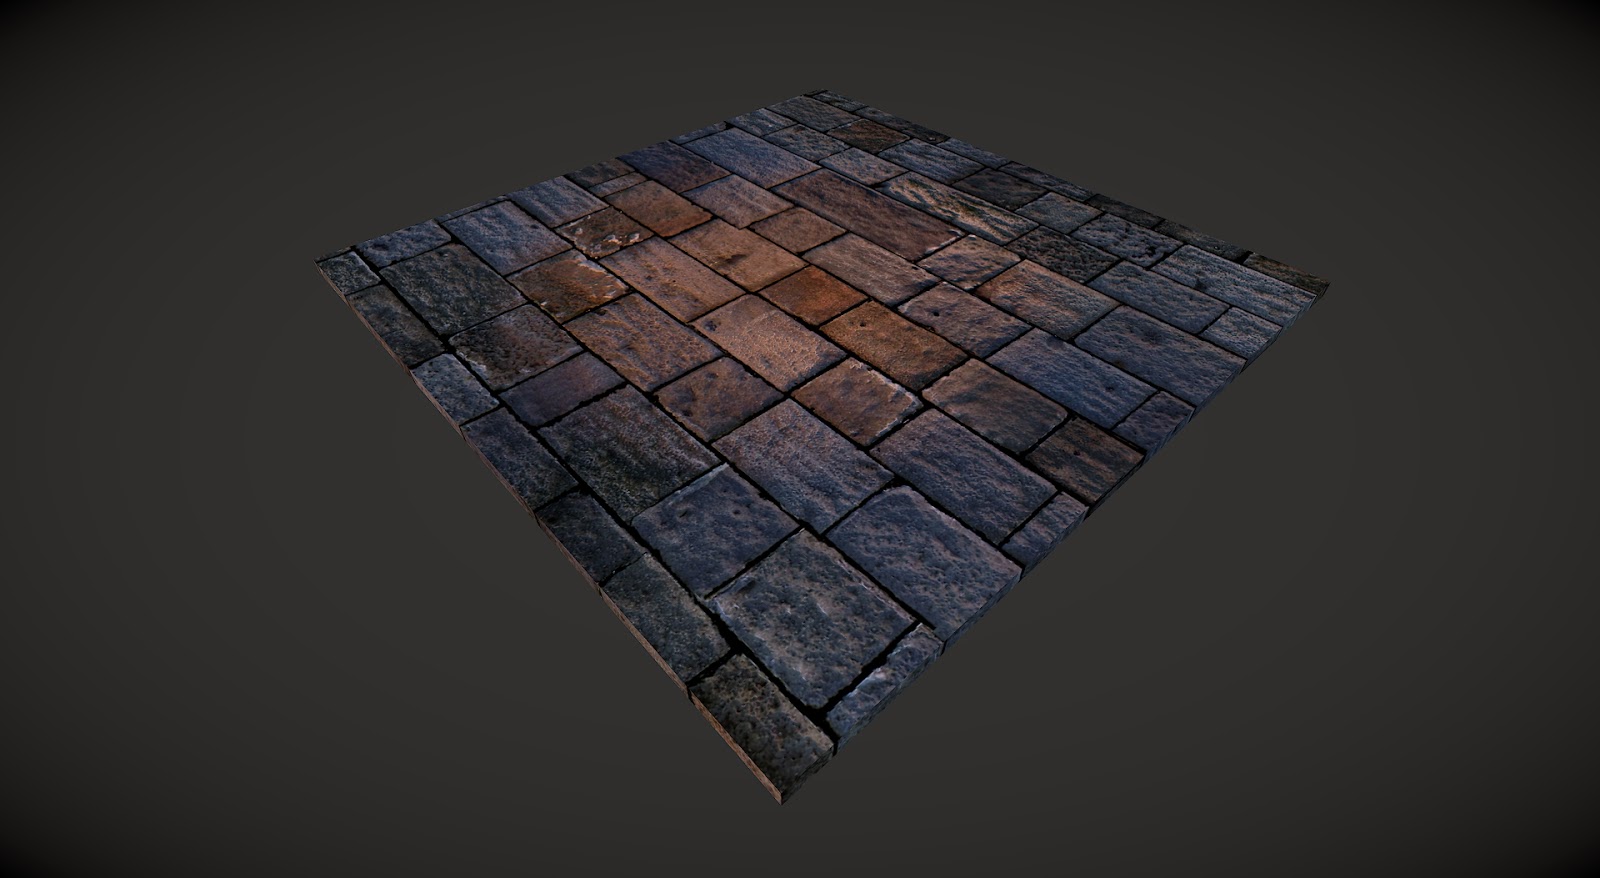
As an environment artist I am tasked with not only the development of the 3D assets but also the textures maps to go with them, The texture is what really defines the model as a noticeable asset, I decided to start working on a main texture for my scene, the stone work for the floor as the concept show the scene is not completely full of various assets, the key to this scene is the sense of realism within the environment itself and this will take place within the textures and later on shader work.
 |
| Stone Floor |
I found myself a simple stone floor image, my main issue with this image is that it was not seamless this means when I start putting parts together there would be seams on the 3D asset which is not something I want as this is very noticeable, So I used a technique in-which you can turn an image into a seamless one, using simple tools within Photoshop such as the blend and clone tool, first you must offset your image, for example I made this image so that it was 1024x1024 pixels, use the offset filter and offset but
512x512 and this will create an image which is seamless on all four outer sides, so once the seams within the middle of the image are cloned/blended you have yourself an seamless image.
 |
| Offset |
Once I finished this process I was able to develop the texture so that it fits within my scene and concept used. Image below shows Diffuse,Spectacular and normal maps within marmoset.
 |
| Stone Floor - Render |
Normal Map
After looking back at my stone floor although I am happy with the overall texture e.g. Diffuse and Specular maps I still think the normal map is too flat, so I decided to try and increase the intensity of the normal map using Photoshop, I layered the normal map over top one another within the canvas and overlay them using Hard light and Soft light to get a more intense normal map, Image below showing the increased normal map, this may be too intense but it has definitely added the extra depth I wanted.
,


No comments:
Post a Comment